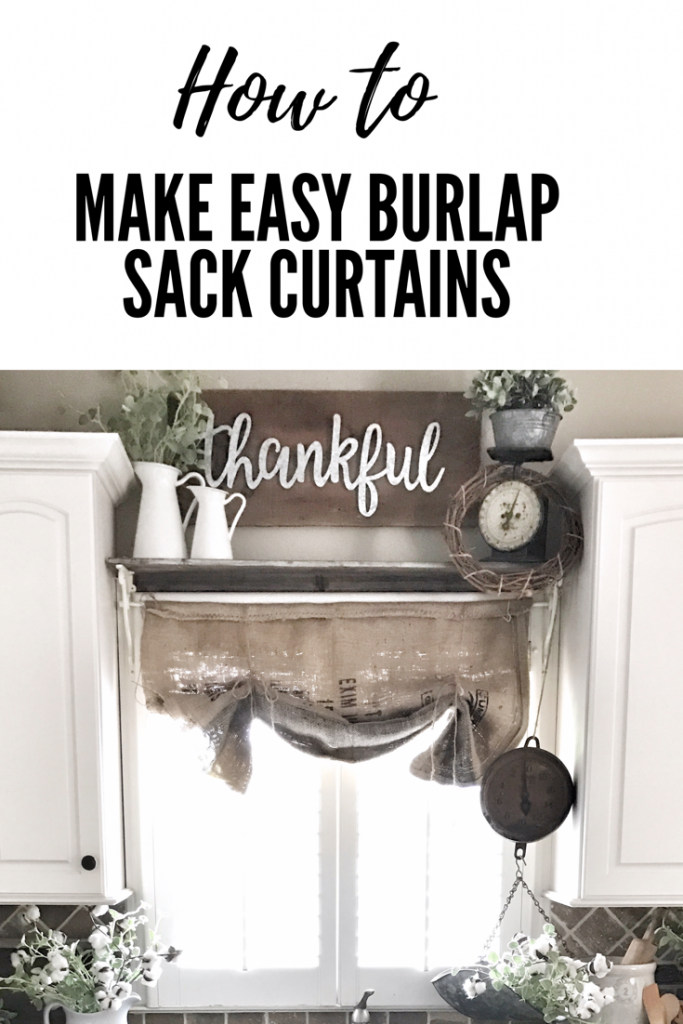
One question I get the most is about this burlap curtain in my kitchen. It was one of the easiest DIY projects I have ever done, so I thought I would share with you how to make a burlap curtains. My favorite part about this project is that it only took about 20 minutes to make. Score! That’s my kind of DIY!!
I LOVE using burlap sacks for decorating. I have used them to recover seats, hang on a ladder for decor, and for making curtains. They come in lots of different prints which works great for your desired color and decor. I also love how they add an instant farmhouse look to your space too. So, let’s get to how easy they are to make. OH, did I mention I didn’t sew them? That’s a win in my book.
DIY Burlap Curtain
Materials Needed

- Burlap Sack (Coffee or Bean sack)
- Tension Rod or Curtain Rod of your choice
- Burlap Twine
- Straight or Safety Pins
- Scissors
- OPTIONAL: Sewing machine to sew seem
Step 1

Cut the back of your sack off. This first step can be optional, but I did it because it would have been too thick to hang.
Lay your sack horizontal and fold the top down large enough for your rod to have room to fit comfortably through the opening.
I then went along the fold and pinned the fold to the back using straight pins. You can also use safety pins but you use what you got and this was all I had at the time. Make sure your fold is even all the way across before you pin.
Step 2
Put your rod through the opening. See, I told you this was easy!!
Step 3

Now, take your twine and cut 2 pieces to your desired size. You can decide how long or short you want your curtains to hang. This is so easy to adjust if you need to (You may want to hang them before you decide your desired height). Then, tie a simple bow to each side making sure both sides were even.
Step 4
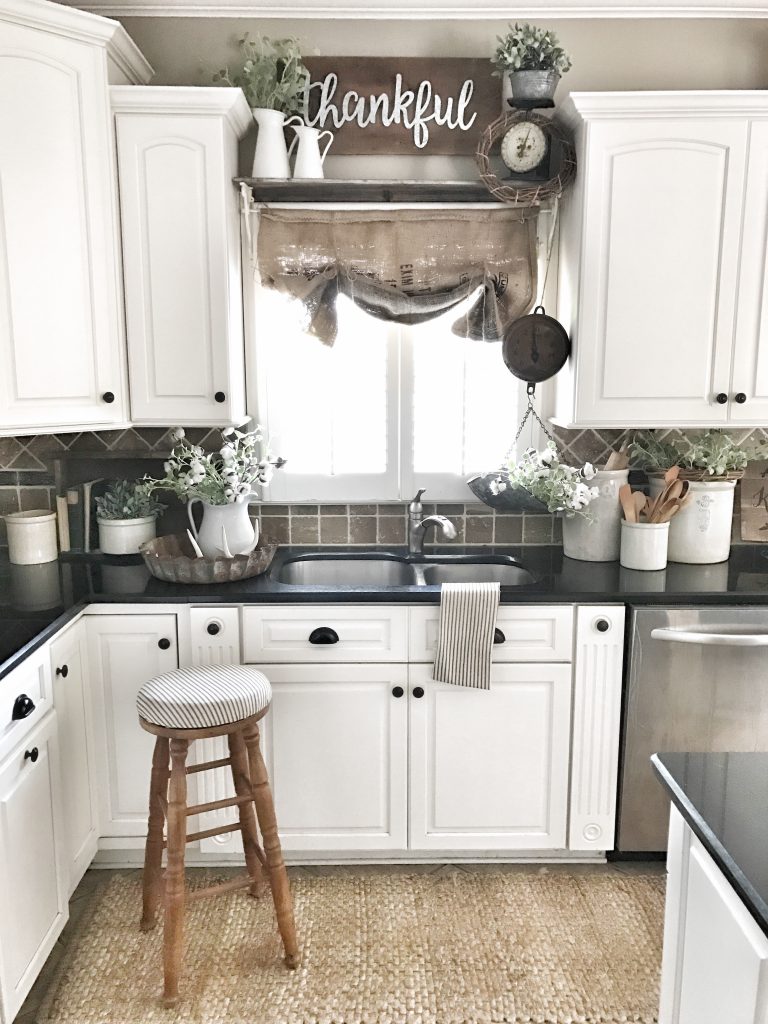
Hang the curtains and you’re DONE! Now you have an added easy farmhouse look to your window and it only took a few short minutes.


This project cost me about $10 and has seriously been one of my favorite additions to my kitchen. It all started with a burlap sack and ended with an adorable farmhouse style curtain. Hopefully, this will inspire you to see past the item and get creative. I love the challenge of taking something and finding a new and fun way to use it. I especially love when I can save money and complete a project with my hands. It’s a feeling of accomplishment. That’s why DIY’s are the best and this
Thank you for checking out my tutorial on how to make burlap curtains. I would love to answer any questions or chat about this project. See you next time!





I LOVE THIS! But Where did you find a sack bag? I am having the hardest time finding a bag to use.
Hey there Destiny! I actually found the burlap sack at our local flea market. I buy them from a man who sells lots of different prints. I am so sorry I can’t be more help. Are you local to Nashville?
I love the idea. Thank you for sharing.
I’m so glad you like it!! Thank you so much for stopping by!
Where did you get that shelf from? I love that! If you made it where did you get the brackets from? Beautiful space. Thank you!
Hi Jody! Thank you so much! I found the shelf at Homegoods and replaced the brackets with ones from Hobby Lobby. So glad you like it!
Love this idea! Where is the thankful sign from? I love the bright white!
I’m so glad you like it! The galvanized piece is from Hobby Lobby, and I just attached it to a piece of barn wood.
Where did you get your rug from? I LOVE it! I am going to try to make these curtains this weekend!
Hi Sam! I believe the rug is from Homegoods. I’m so happy that you are going to make this curtain. Let me know how it goes. Thank you!
Are those white antlers in the tray with the pitcher?
Hi Kay! Yes they are white antlers. Love decorating with them!
I can get burlap bags at any coffee place that roasts whole beans. Free or cheap. And they smell like coffee