
Guys, my husband gave me the best Christmas present!! SHIPLAP…oh, finally!! It’s the gift that keeps on giving. Well, it’s actually a faux shiplap wall DIY, but it looks just as great and for way cheaper. I admit, I’ve been a total nag about it, and he finally realized I wasn’t giving up and he bought everything he was going to need this year on black Friday. He’s my favorite! I knew I wanted it in my home in a few places, and I thought the best place to start was in a hallway that connects our living room to our kitchen. We decided to go with a planked wall instead of real shiplap. Here are a few reasons why we went with planked vs. shiplap.
- It’s thinner than shiplap (We didn’t want to remove the crown molding on the top and bottom of our wall)
- It’s cheaper than shiplap ($13.50 x 3)
- It was super simple to install
So, let’s get to it. I tried to document every step of the way to make it an easy tutorial to follow. Here is what you need.
Supply List:
- Circular Saw- to cut the boards to length
- Nail Gun and Nails
- Jigsaw- to cut around edges and outlets
- Hand Sander
- Nickels
- Putty
- Level
- Stud Finder
- Primer
- Wall Paint
- 4X8 Underlayment
- Trim for edges
Ripping the Faux Shiplap Planks
After you have all of the basic tools you need, then the fun part begins. Head to your preferred home improvement store and get your wood. We bought 3 sheets of 4×8 underlayment from Home Depot. This is what it looks like.
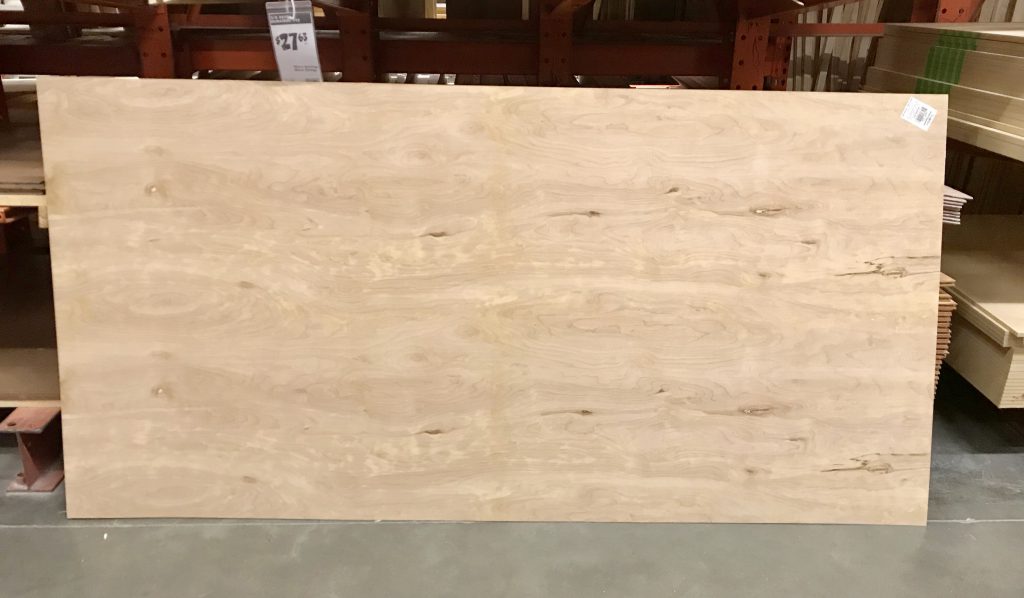
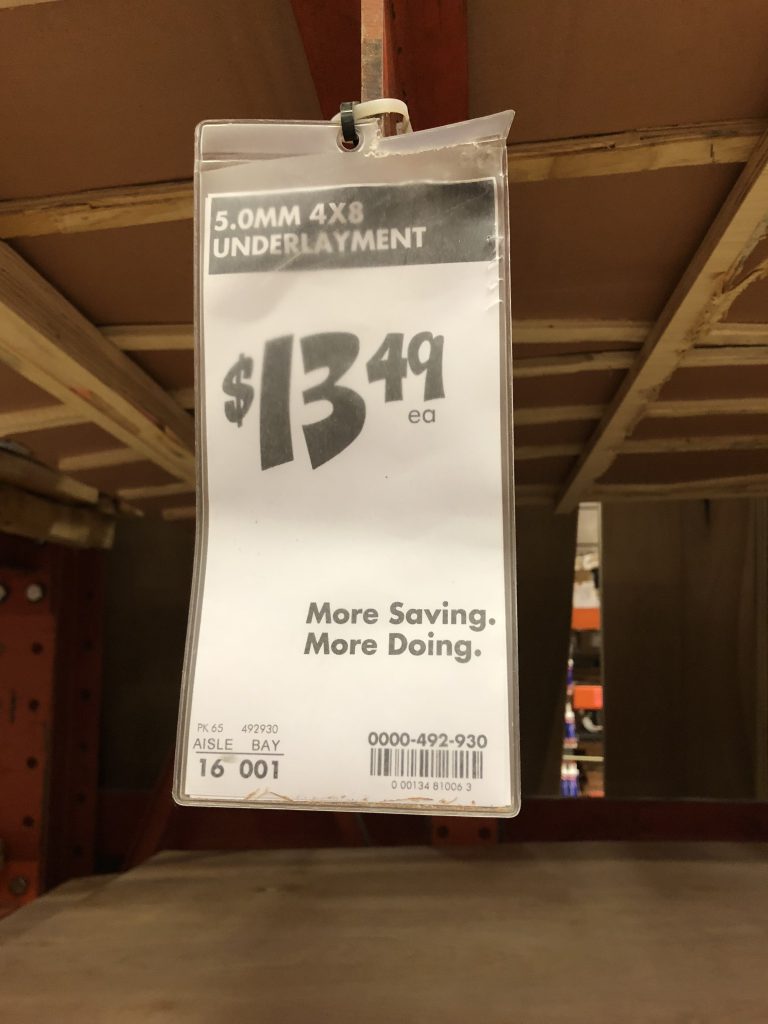
The best part is the price! Only $13.49 per sheet. SO CHEAP!!!
Next, you need to decide on the size of your planks. We went with 8″ planks. 6″ or 8″ is pretty standard, but I really liked the look of thicker planks. You can even have the store cut them for you. It was way easier for them to run it through their machine, but that is totally up to you.

Here it is all cut and ready to go up. One pretty important step that we did when we got home was sanding the cut edges. Since it is a thin wood, the cuts that were made were just a little bit rough so we just went along the edges with a hand sander and sanded it down. It didn’t take that long, and I highly recommend doing that so you don’t have rough edges.

Prepping the Walls
Before your planks start going up, you need to find your studs. We just went along the wall and marked where our studs were. Then, we drew a line all the way down to make it easy to know where to nail them in the wall.

Hanging the Faux Shiplap
After you have everything marked, then you are ready to go.
Note: We started at the top because we knew it wasn’t going to measure out perfectly and we wanted our smaller piece to be at the bottom instead of the top. You can do it either way. It’s really is just what your prefer. Simply measure the space you have to cover, make any necessary vertical cuts, and start nailing in the planks. On one side of the door frame we had lots of short boards (around 24 inches). On the other side we were able to just take a little bit off of the 8ft boards.

We used a few nickels to space them out. You can used nickels, dimes, or spacers but this step is VERY important. If you don’t space them out enough, then you will not get the planked look that you are going for.

After you get going it actually goes pretty fast. The most difficult part of this project is cutting around the top of the door frame and around the plugs using your jigsaw or skill saw.


Ok, are you still with me on this faux shiplap wall DIY journey? This part isn’t very fun but very necessary. Go around with your putty and fill in all the nail holes. UGH, I know this part is tedious, but if you have help it goes pretty fast. It only takes a little bit of spackle so don’t go crazy. We let it dry for a few hours or so and then sanded it down.

Painting the planks
Primer is next. We primed the planks with Zinsser white primer.

After they were primed, all was left was paint. I chose White Dover by Benjamin Moore.
Note: You can give Home Depot or Lowes your preferred paint color and number and they can match it with their paint. They can search and match almost any color. We used the color White Dover but with Behr paint.
Drumroll please…..

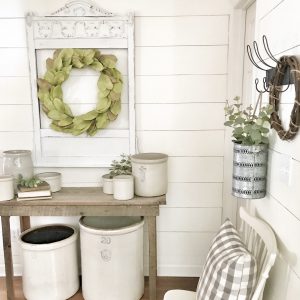
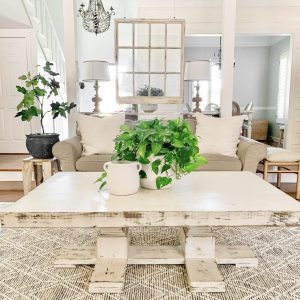
I am so in LOVE! It brightened up my hallway so much and gave it that farmhouse look that I love so much!!


I hope this faux shiplap wall DIY tutorial helped motivate you to add a little farmhouse charm to your home. It really was a pretty easy project. I’m already ready for more. Let me know what you think and feel free to ask me any questions you might have! Thanks so much for stopping by!!





I looks really good!
Thank you so much, Barb!!
Does not look like ya’ll offset the planks. Did you just have straight 8ft runs?
We had to offset them at the bottom. If you look closely, you can see the thinner plank at the bottom. That is why I like to start at the top vs the bottom. The offset isn’t as noticeable on the bottom. I hope this helps!!
This is great info and looks beautiful!
It looks beautiful! Just wondered did you paint with paint rollers or paint sprayer?
Thanks
Deb
Hey Deb! Thank you so much! I used a roller but a sprayer may work too. I have never used one so I’m not sure. Good luck!!
I was wondering if you offset the planks? (That means you cut some of the 8’ planks in half and don’t line up the vertical seam. Imagine: bricks)
Oh, I misunderstood. So sorry. No we didn’t. Our wall had a large opening so there was only one plank at the top where we had to do two boards horizontally. If we had a large wall where multiple boards went across then we would have offset them. I hope that makes better sense.
How do the corners look? did you butt the wood up at the corners?
I am so sorry I didn’t add that part. I just bought a small piece of corner molding and nailed it up there and then painted it. It covers the wood and makes it look finished. I hope that helped answer your question. Thanks so much for stopping by!
Looks great!!!! I want some in my house!
Thank you so much, Renee! I’m so glad I finally got some!
Looks great! Did you guys cut it to fit within your existing moulding/trim or did you remove it and put it back up afterwards?? Thanks!
Thank you, Jenny! Since the underlayment is so thin, it just fit on top of the crown molding. We didn’t want to have to remove it so that is why we decided to do it this way.
Thanks for such a detailed and easy to follow tutorial…plus, can I just tell you how refreshing it is to find a beautiful DIY blog that doesn’t have ads popping up and flashing all over? That, plus your nice pictures and detailed instructions made this a relaxing “visit”. I”ll be back!
Hi Christa! I am so happy you enjoyed the tutorial. Your sweet comment totally made my day. I am so happy you enjoyed visiting the blog! Thank you!
Did you paint the wall behind the planks?
Thanks for the diy , I love the way you did your shiplap !